
What to Decide Before Designing a Card

A pre-design checklist that saves a redesign
One of the first things buyers ask us for is a design template. It’s an understandable place to start. Artwork is the most visible part of a card, and getting it under way feels like progress.
But a good template depends on decisions that come before it. What the card is for, what it’s made from, what data it carries and how it’s finished all shape the artwork. Make those decisions first and the design has a clear framework. Leave them until later, and there’s a real chance of redesigning once the practical details catch up.
This card design checklist sets out those decisions in the order that saves the most rework.
1. What is the card for?
Start with the card’s job, because it sets every choice that follows.
- Gift cards need a barcode for activation at the till, and usually a carrier for display or gifting.
- Loyalty and membership cards are carried and used regularly, so they need to be durable and quick to scan.
- ID cards need space for a photo, a name and often access technology.
- Access cards need a chip that matches the lock or reader system they’ll be used with.
It’s also worth thinking about who holds the card, how long they’ll keep it and how it reaches them. A card kept in a wallet for three years has very different needs from one bought and used once at Christmas. A card sold from a retail peg, posted with a letter or handed over at reception will also sit alongside different packaging, which can affect how the design works as a whole.
Most cards use the standard size of 85.6mm x 54mm, the same as a bank card, so they fit wallets, readers and printers. If you’re considering a different shape, that decision belongs here too, as it affects timings later on.
2. Which material?
Material follows purpose. Paperboard is plastic-free and suits single-use cards such as gift cards and promotions. Recycled PVC or eco-PVC suits cards used every day, such as membership, access and fuel cards, where durability matters most.
The choice affects more than durability. It influences how colours reproduce, which finishes work well and which technologies the card can carry. Our overview of card materials compares each option.
3. What data and technology?
Barcodes, QR codes, magnetic stripes, chips, signature panels and photos all take up space, and most have positions or requirements that the artwork has to respect.
A magnetic stripe runs across the back of the card. A contact chip sits in a set position on the front. A barcode needs clear space around it and enough contrast to scan reliably. Personalised details such as names or numbers need a defined area that works for every record, including the longest name in your data.
If these are decided after the artwork, the design often has to be reworked around them. Decide them first and the designer can build around them from the start.
4. Which finishes?
Finishes work best when they’re chosen to suit the material and the brand, rather than added at the end.
- Spot UV adds a high-gloss coating to selected areas for contrast.
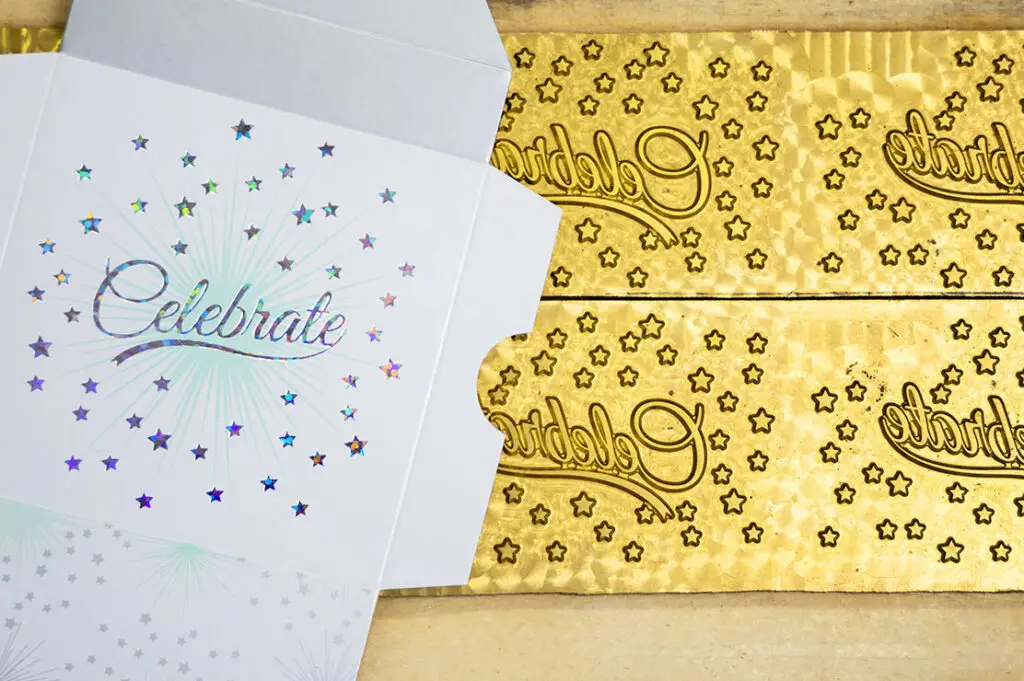
- Foil adds metallic or coloured detail to logos, borders or text.
- Embossing raises elements from the surface for a tactile effect, and is often used to signal premium tiers.
Keep finishes clear of barcodes, QR codes and activation areas so they don’t affect scanning. For more detail on each technique, see our guide to card finishes.
5. Preparing artwork
With the decisions above in place, artwork can be prepared with confidence. For production, we need:
- Print-ready artwork with bleed
- Vector files wherever possible
- Brand colour references
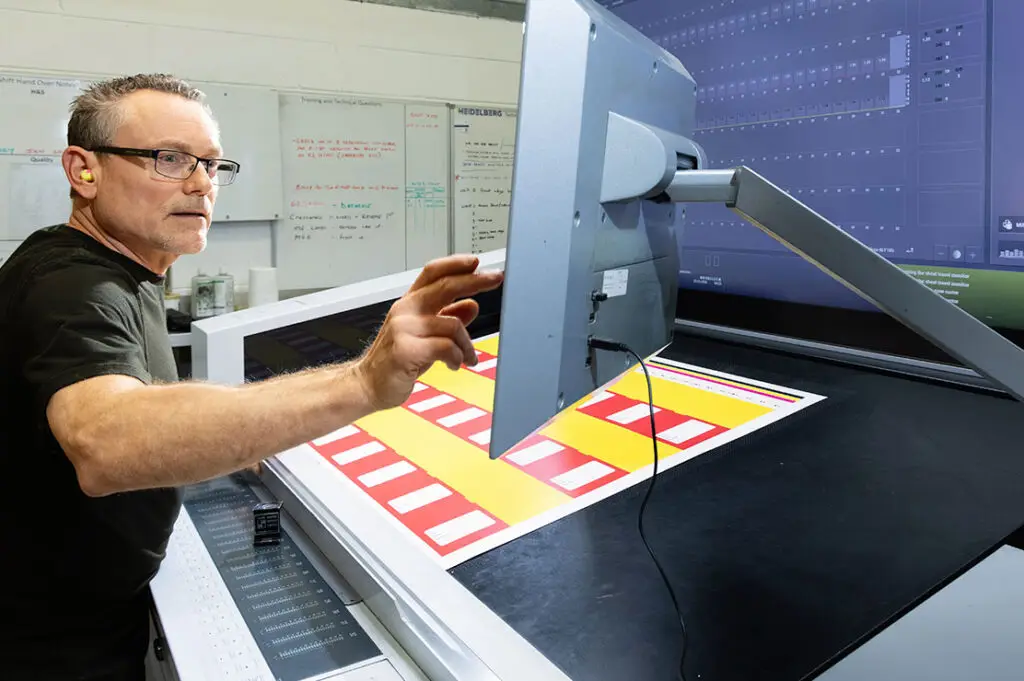
We supply templates and technical guidance to support this, and our team checks all supplied artwork before it goes to print. That check makes sure it prints correctly, personalises accurately and works with the chosen card and carrier. Where specialist finishes are involved, our designers make sure they’re specified correctly for the material and print method.
Before production begins, every design is proofed. Depending on the programme, that might be a PDF proof for speed, a calibrated wet proof or a finished card proof, so you can see exactly how the card will look before it’s made.
If you don’t have artwork ready, our design services team can build it from your brand guidelines or campaign creative.
6. Timings
Some decisions take longer to deliver than others, so it pays to know early. If the card is part of a wider launch or campaign, working back from the launch date shows how much time is really available for design and approval.
Custom shaped cards need a one-off tooling step to create the bespoke shape. For a bespoke shaped card, allow around six to eight weeks from production through to delivery. That depends on the final design being approved and all data being available.
Seasonal programmes need planning further ahead again. For ASDA Christmas designs, planning starts as early as April each year, which leaves time for concept development, refinement and production ahead of peak demand.
Your card design checklist
Before anyone opens a design file, you should be able to answer:
- What is the card for, and how long will it be used?
- What will it be made from?
- What data and technology does it need to carry?
- Which finishes suit the material and the brand?
- Is artwork ready, or does it need to be created?
- Is there a bespoke shape or a seasonal deadline to plan around?
If you’re starting a new card or reworking an existing design, book a consultation and our team will help you work through each decision before design begins.